
- Start by disassembling the headlight assembly.
- Remove the large bezel surrounding the two headlights
- Remove the smaller bezels holding in each sealed beam.
- Unplug the the lights and remove them from the housing
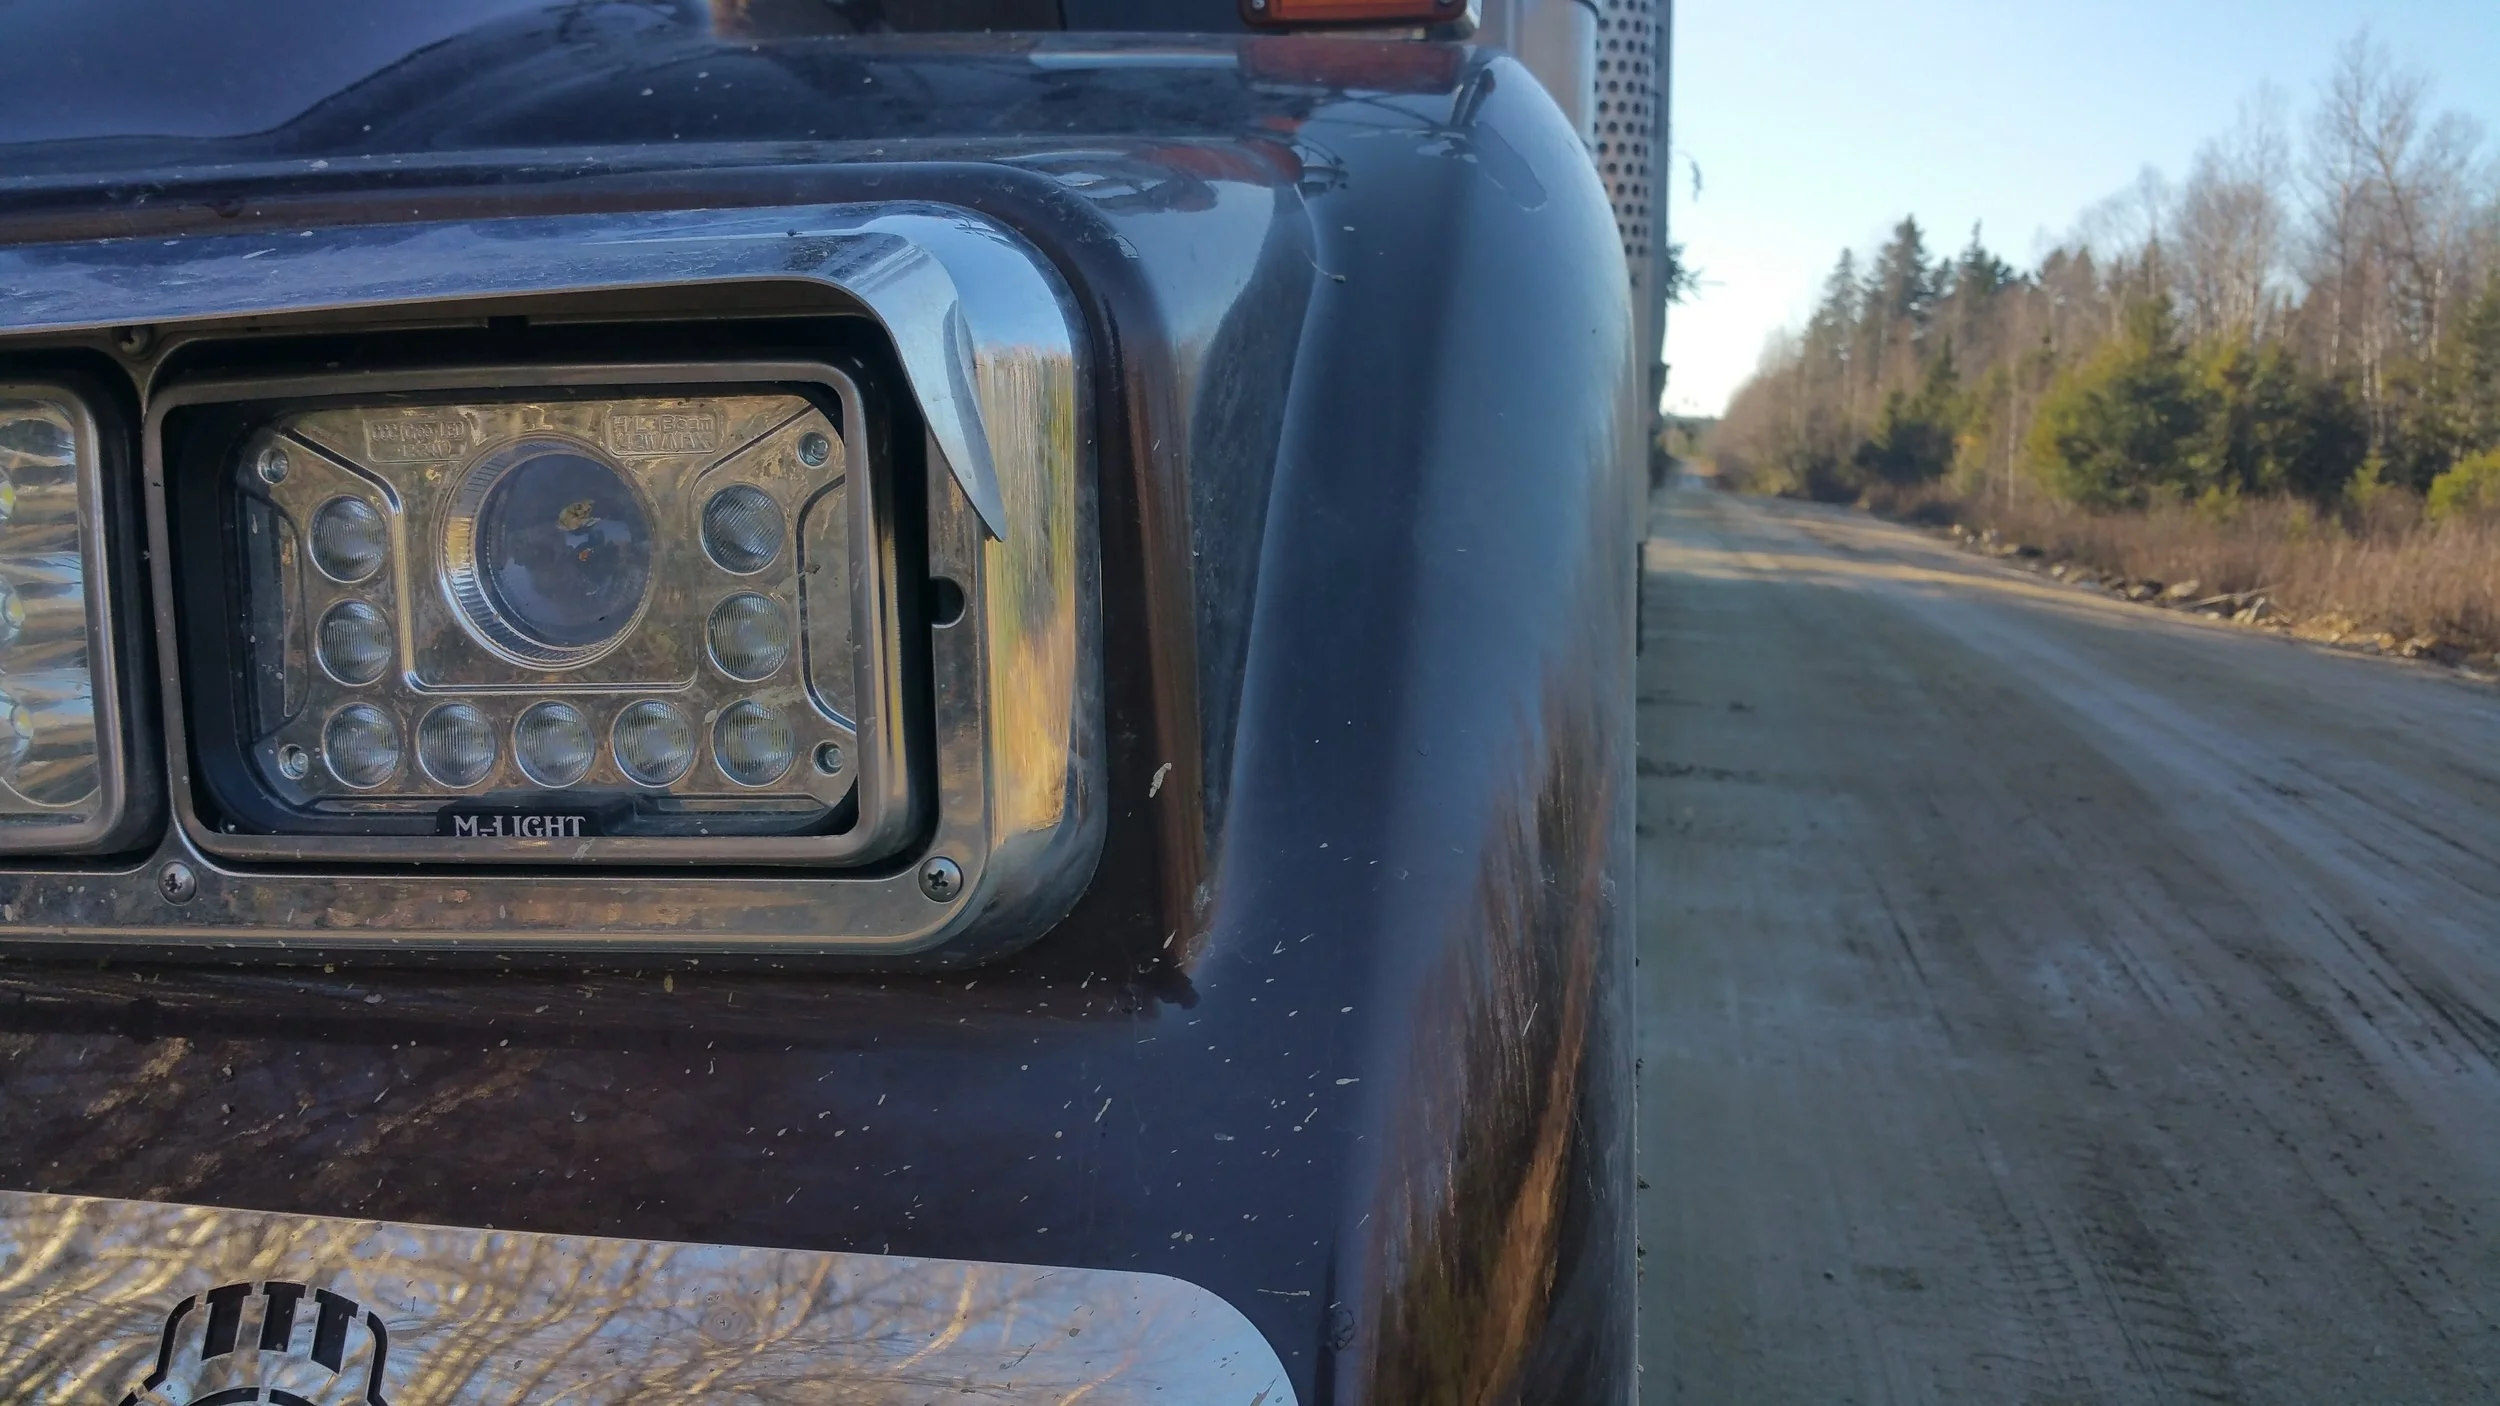
- Plug in your new LED sealed beams and test them. (Low beam -The surrounding diode light up in a "U" shape / High beam - All diodes are lit)
If the light does not operate normally then you need to make an adjustment in your light plug. Use a test light to determine what wires you may have to change in your own plug. (Traditional halogen lights can be wired in different ways. LED lights are polarity sensitive which only allows them to be wired one way. A halogen light will still work when wired for an LED light)
Complete your installation be reassembling your bezels and aiming your headlight's height.
NOTE:
These Sealed beam lights fit very snug into the smaller bezel. You may need to modify the die-cast aluminum housing by filing/grinding to fit easily into place. Some installs need no modification but all will be a tight fit.
Some newer trucks (2010+) may require the use of a load resistor. This will draw more current tricking the computer to think it is a regular halogen sealed beam.
Some symptoms of a truck needing a load resistor:
- High beams stay on dim with low beam
- low beam stay on dim when light is shut off
- error message on truck computer related to faulty headlight.
- Flickering of headlights
Feel free to contact us if you have any other questions or concerns.